


Trust Blog
Explore the latest topics and insights to help you navigate Web3 with confidence and ease.
Follow Trust Wallet onExplore the latest topics and insights to help you navigate Web3 with confidence and ease.
Follow Trust Wallet on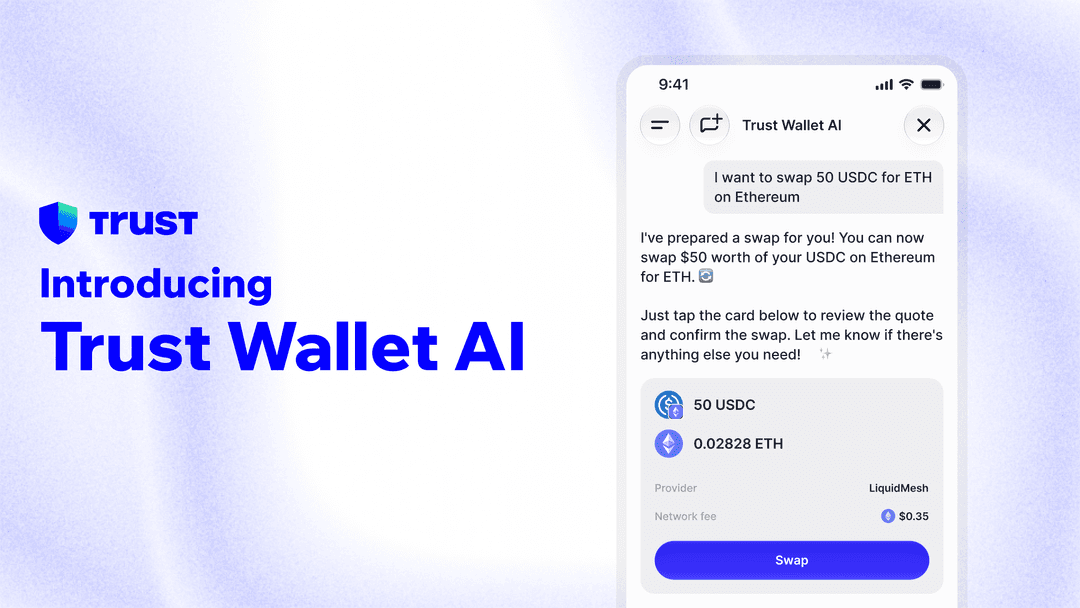

Trust Wallet AI is now available to all users on app version 26.28.4 and above. Ask questions, read your portfolio, and assemble on-chain actions — right inside your wallet, fully self-custodial.

The bStocks Trading Competition has officially concluded, and rewards are now available to claim on Merkle.
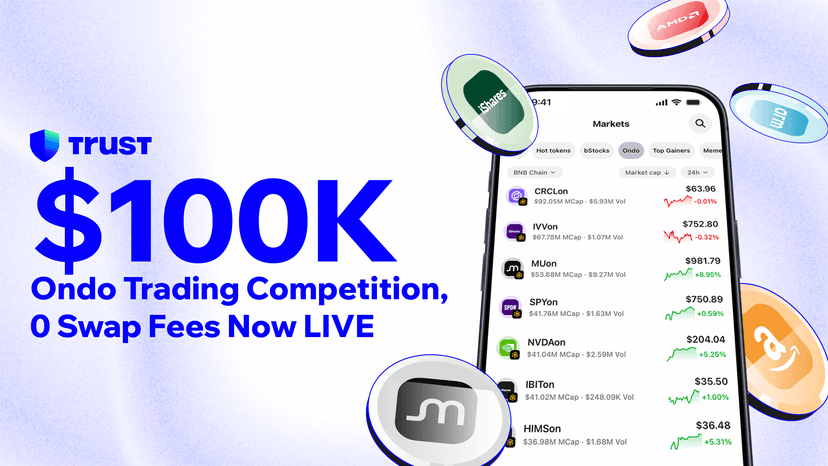
We're excited to introduce the Ondo Trading Competition on Trust Wallet: a two-phase event where your trading activity can earn you a share of $100,000 in rewards. Not available to residents of certain countries and regions.
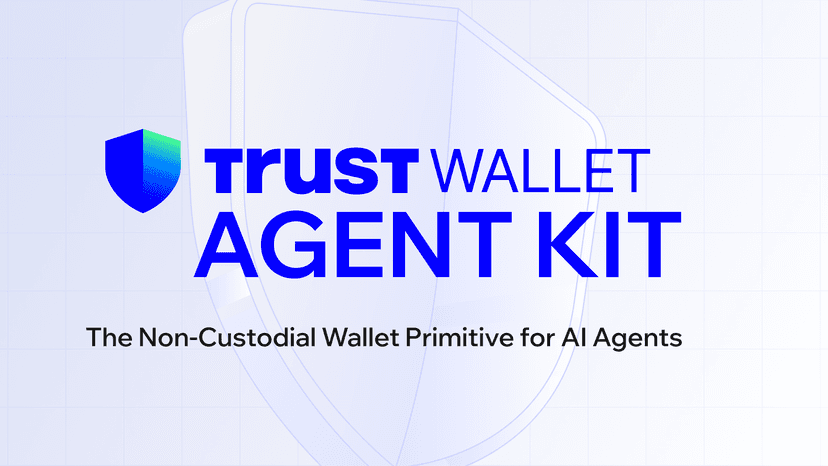
Trust Wallet Agent Kit is a self-custodial wallet primitive for AI agents, letting developers deploy agents that hold value, pay for their own compute, and transact across 30+ chains, without handing keys to any platform.
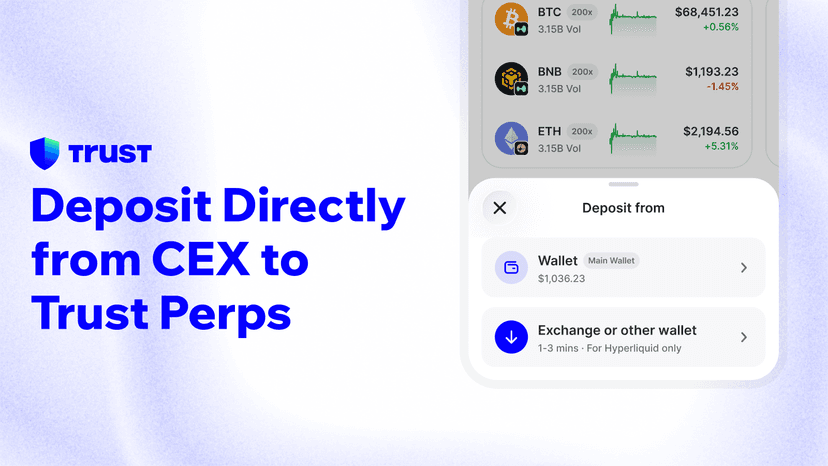
Already on a CEX? Deposit your assets to Trust Wallet Perps in minutes and stay in control of your funds while you trade.

Explore Robinhood Chain on Trust Wallet with new support that lets you send, receive, and securely store assets built on the network, all in self-custody.
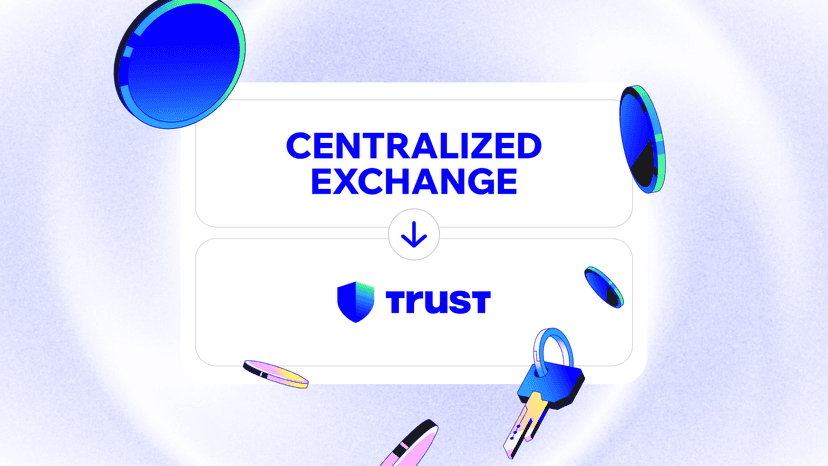
Learn how to move your crypto from a centralized exchange to Trust Wallet. Take control with self-custody, hold your own keys, and manage assets across 100+ chains.

Trust Wallet is launching a two-week bStocks trading competition with a $100,000 reward pool. Swap any eligible bStock directly from your wallet, build cumulative volume, and potentially qualify for rewards. Top leaderboard prizes and a broad participant pool are open to all qualifiers.

SPCXB is live on Trust Wallet. Access tokenized exposure to SpaceX (SPCX) on BNB Chain, 24/7, directly from your self-custody wallet.
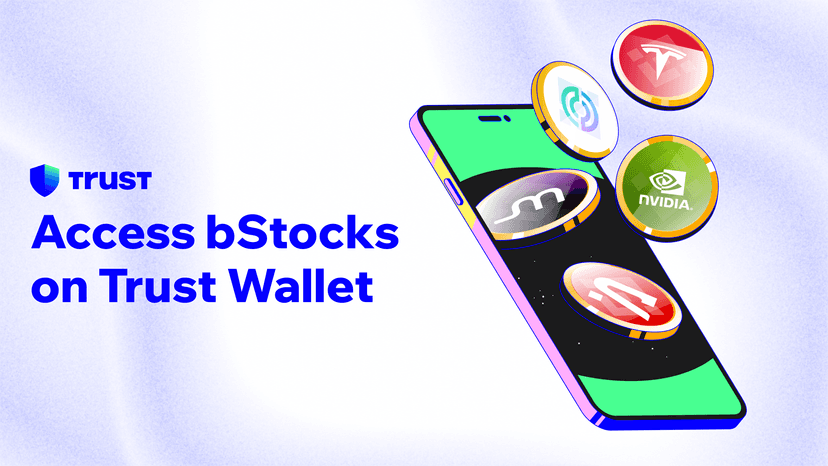
bStocks are live on Trust Wallet — access tokenized US stocks like NVIDIA and Tesla 24/7 on BNB Chain, with no fees and full 1:1 backing.

Trust Wallet welcomes Thomas Lau as Head of Design, bringing design leadership from Phantom and Crypto.com to set the standard for how users interact with crypto across the world's leading self-custody wallet.
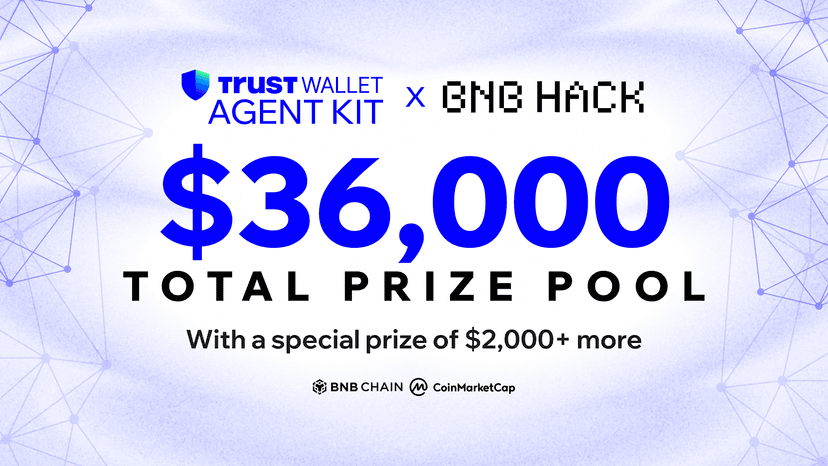
BNB Hack: AI Trading Agent Edition is live - a hackathon by BNB Chain, CoinMarketCap, and Trust Wallet with $36,000 in prizes and two tracks.